Scheduled reports are reports that you can set to receive automatically at a certain time. The platform lets you schedule reports and also obtain instant reports. Both reports are shareable.
Let’s see how to get this activated.
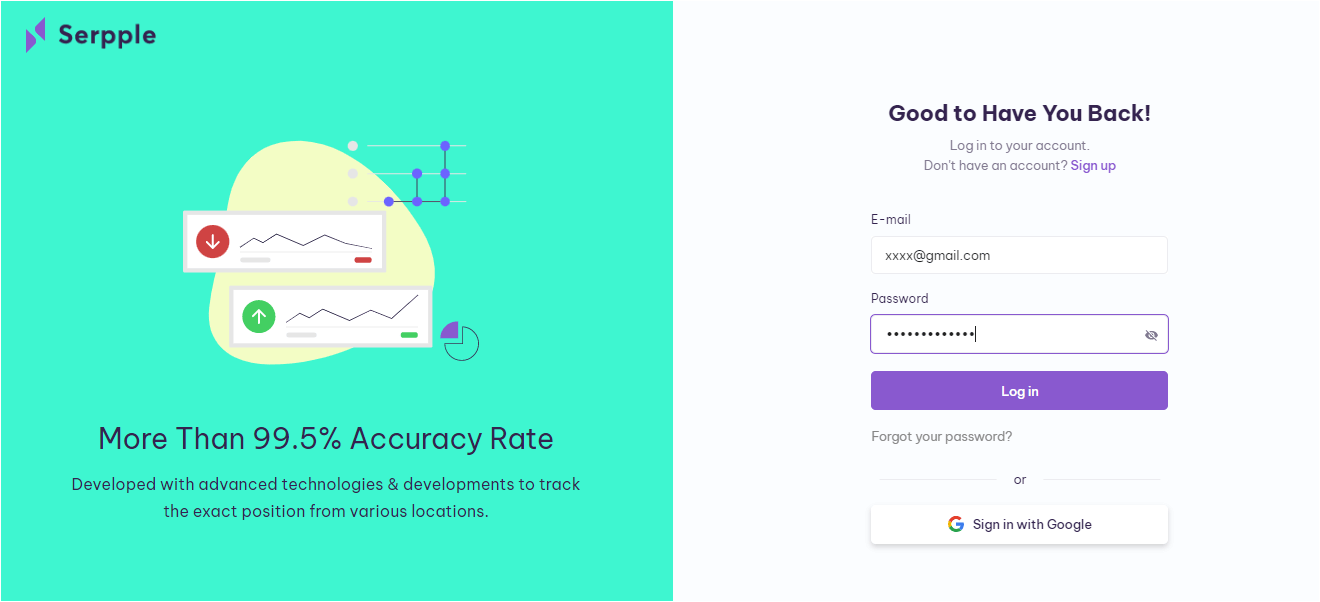
To access schedule reports you need to Log into the platform.
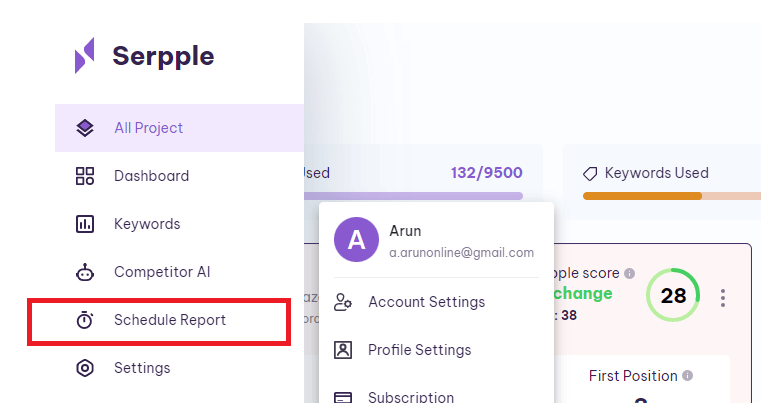
Then click on the schedule reports option found on the side menu bar of the platform.
By selecting the schedule report option you’ll get directed to the following schedule reports page.

This page will have options to enter the recipient’s email and the frequency.
You can enter the email address to which you wish to receive the scheduled reports in the field provided below the recipient email.
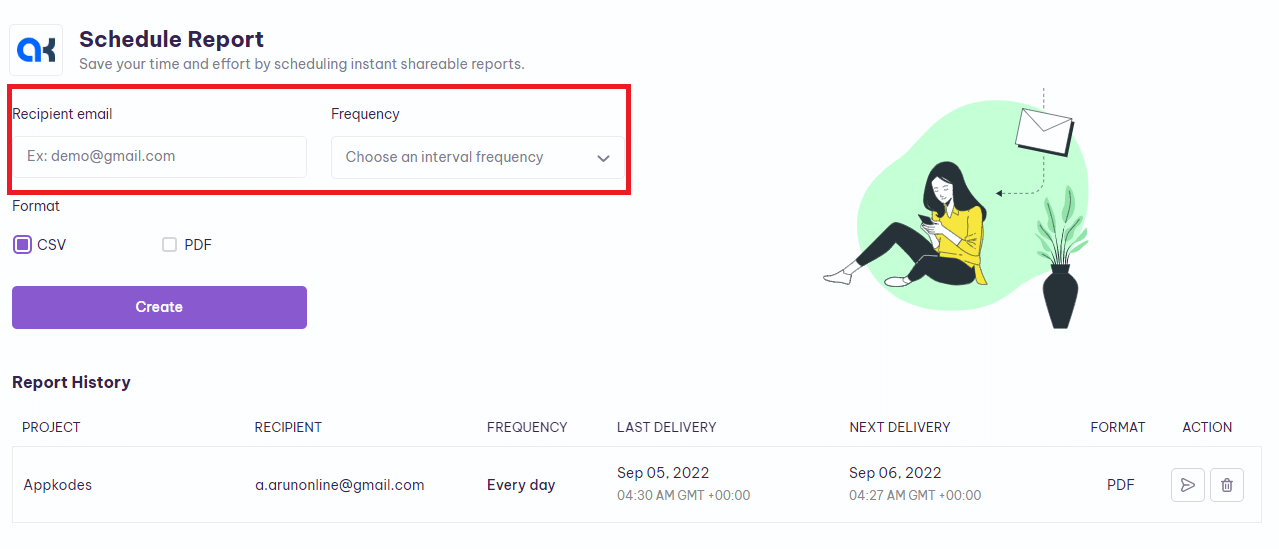
To set the frequency/period in which you need to receive these scheduled reports, you need to click on the arrow found in the Frequency field.
A drop-down list appears, from which you can select and set your preferred frequency.

Next to this, you will find the format option. You can receive your reports either as CSV or as Pdf by selecting the appropriate checkboxes.
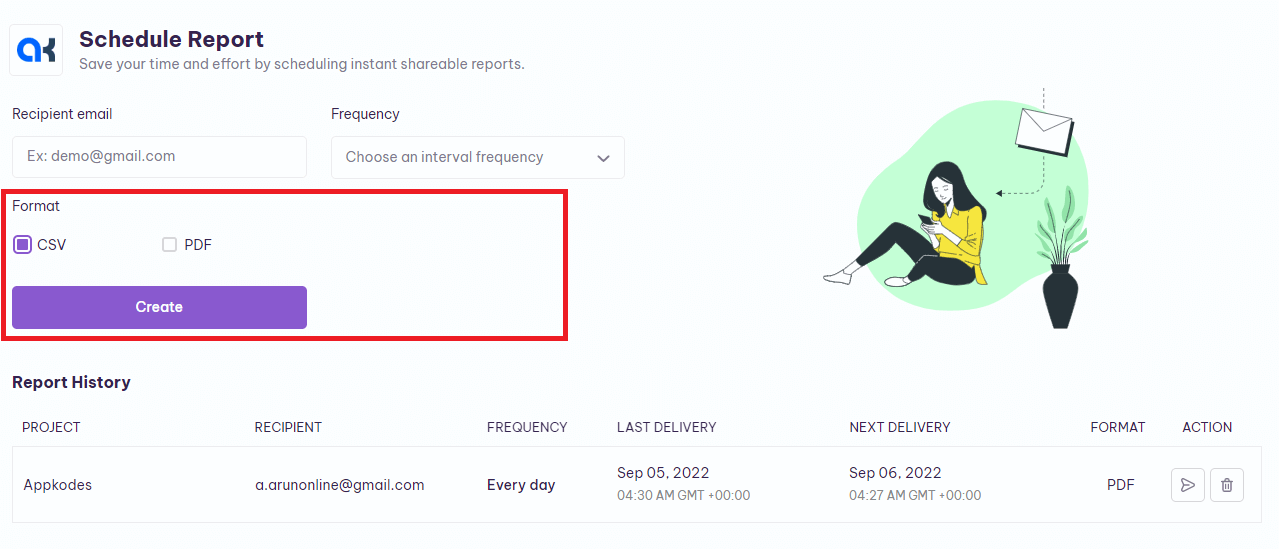
On completing all of this, you need to tap the create button and initiate the scheduling of reports.
Understanding Report Components
Before getting on with understanding the report components, you need to understand the report history found on the scheduled reports page.
This report’s history consists of a table with two rows and seven columns.
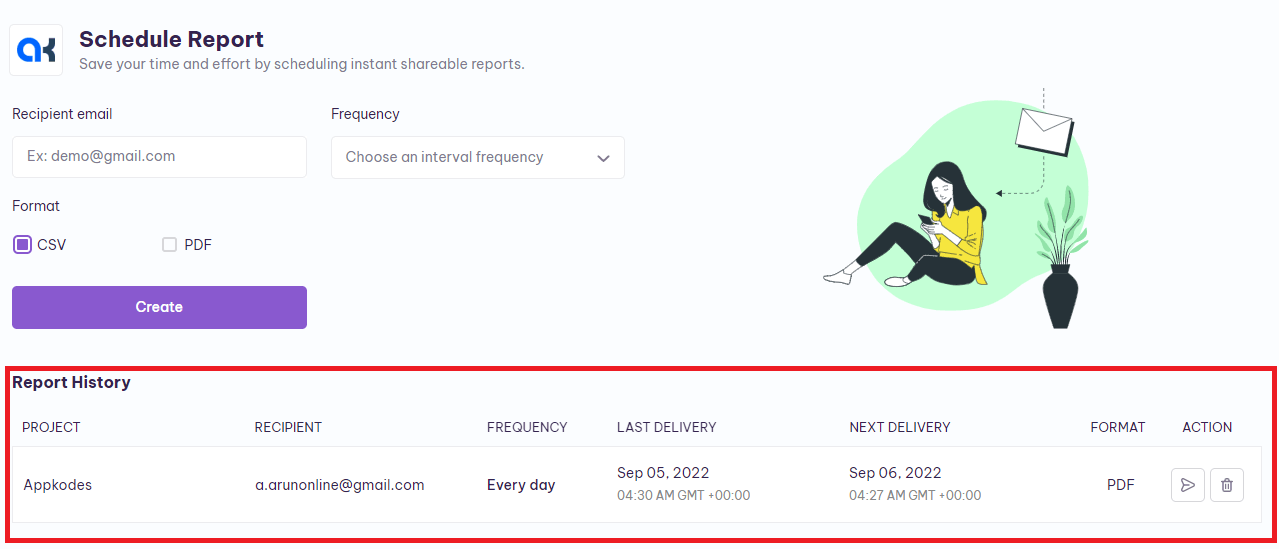
From the table, you will be able to infer the project name, recipient email address, frequency, last date on which the report was sent, date of the upcoming report, the format of the report file, and action.

The action consists of two options. One lets you share reports and the other lets you delete them.

And, here’s all you need to know about scheduled reports and understanding their components.
I hope you find this article useful. If you have any other doubts search for relevant help articles or contact our support team by using the live chat widget on the bottom right corner of the website or send your query to [email protected].